When you are looking for a key chain kit, there are several options available. You can choose from leather or macrame designs, or you can buy one that features chrome plating. You can also buy a kit that comes with the instructions and materials for making a keychain. You have the option to attach your items directly to your keyring, depending on your style.
Easy macrame keychain kit
Use the Easy Macrame Keychain Kit to make a unique keychain. This craft is both fun and easy, and it is suitable for both adults and children. Depending on which kit you select, the keychain can come in any color or design. This wristlet can be used to hold keys and other valuables thanks to the continuous square knot. The keychain's unique design is a combination of beauty and functionality.
Once you have your materials and some embroidery thread, you can create your macrame keyschain. As a start design, a basic braid could be used. The cord can be folded in half and wrapped around the ring. Secure the knot by pulling the cord through an open loop on the folded end. Repeat for the second piece of cord. The finished piece should measure about 20cm (7.8in). Macrame can also be used for zipper decorations on handbags.
Simple leather keychain kit
It's easy to create a leather keychain that is unique, beautiful, and simple. This leather keychain kit contains everything you need to create a unique keychain. It will make it easy to create a leather keychain that you can use for many different purposes. After purchasing the kit, you'll be able to quickly create a custom leather keychain.
You can cut several different designs for your keychain. To cut faux pebble leather keychain shapes, first use the Cricut machine. To cut these shapes, use the wrong side of the leather. To ensure a clean cut load the leather wrong way up. There you have the freedom to create any design you desire. Reuse any leather scraps. Use the same template to make the leather keychain you want.
Once you've completed your leather keychain, personalize it with a 1/8” stamp. If you are a leather crafter, leather will be a great challenge. This material can be used for leather crafts like belts and bags. A simple leather keychain kit will help beginners get started. This kit is perfect for anyone who loves leather crafts, beginner or expert.
Chrome-plated leather keychains with leather
Leather keychain kits can be used to create multiple gift ideas that are both practical and elegant. The leather keychain kits include everything you need, including the leather, rivets and leather stamps. They are great for gifts and for learning basic leather techniques. You can be as creative as possible with this kit, and you can make several for family members and friends. It's possible to get your children involved by creating their own leather keychains.
You can give a unique gift with a leather keychain set with chrome plating if you are looking for something that is truly memorable. It's an easy and inexpensive way to advertise your brand and your business. Decorative Chrome plating is a popular option for decorative keychains. It uses a lighter coat of chrome. It protects the material and is great for gifts. However, it's not as protective as hard-chrome plating.
FAQ
Are you a genius in order to master woodworking?
No. It is not rocket science to woodwork. Anyone can learn how to use basic power tools and techniques to create beautiful works of art.
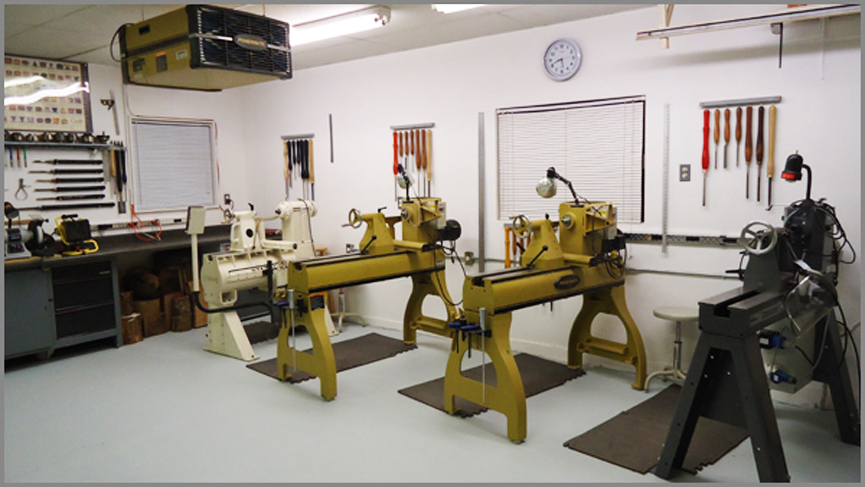
How can I organize my shop?
To keep your workshop tidy and organized, you should first create a place for tools storage. To keep your tools sharp and ready for work, keep them clean of dust and debris. To hang accessories and tools, use pegboard hooks.
How much money will I need to get started?
Since every project differs, it is impossible to give exact numbers. But if you want to get an idea of how much money you'll need, consider these factors:
-
Cost of materials
-
Tools and equipment
-
The time spent on the project
-
Your hourly rate
-
What profit are you expecting to earn?
-
Whether you plan to hire help
Start small, if possible. You can make simple boxes or picture frames if you're just getting started. You will gain more experience and be able to tackle larger projects.
How can I tell what kind of wood I am working with?
Always inspect the label when buying wood. The label should include information about the wood species and its moisture content as well as whether or not it has been treated using preservatives.
How long does it take for furniture to be finished?
It depends on the type and complexity of your design as well as the amount of finishing that you use. Hardwoods are more difficult to maintain than softwoods. Hardwoods also tend to be more expensive than softwoods. They last longer and are more resistant to moisture. The process of finishing a piece of furniture typically takes anywhere from one week to three months.
How often do I need to buy new supplies
Some tools will need to be replaced over time. Sharpening hand tools is a must. For power tools, replacement parts will be required frequently. Avoid buying too many products at once. Spread your purchases out over several months.
Statistics
- In 2014, there were just over 237,000 jobs for all woodworkers, with other wood product manufacturing employing 23 percent; wood kitchen cabinets and countertop manufacturing employing 21 percent. (theartcareerproject.com)
- The best-paid 10 percent make $76,000, while the lowest-paid 10 percent make $34,000. (zippia.com)
- Woodworkers on the lower end of that spectrum, the bottom 10% to be exact, make roughly $24,000 a year, while the top 10% makes $108,000. (zippia.com)
- If your lumber isn't as dry as you would like when you purchase it (over 22% in Glen Huey's opinion…probably over 10-15% in my opinion), then it's a good idea to let it acclimate to your workshop for a couple of weeks. (woodandshop.com)
External Links
How To
How to stain wood
Staining wood refers to applying chemicals to wood's surface. This chemical reaction causes the wood to change in color. This chemical reaction causes wood to turn from whiteish to brownish. Oak is the most commonly used wood for staining, but other woods can also be stained.
There are several ways to apply stains to wood surfaces. Mixing the stain in a solvent such as turpentine and spraying it onto the wood is one method. Some methods involve a mixture of water and dye that is applied directly to the wood. You can also mix stains with varnishes or paints so that they become part the finish coating.
Preparing your wood for staining is the first thing to do. You must clean the wood well to remove any grease or dirt that might interfere with the application of the stain. Sanding smoothens any scratches or rough spots. Then you must decide what kind of stain you want to use. Penetrating stains are different from non-penetrating. Penetrating and non-penetrating wood stains penetrate deeper than other types, making them perfect for dark colors like mahogany. The best non-penetrating colors are those that work with light colors like maple.
You will need to decide on the type of stain you want to use, and then prepare your tools. Paintbrushes are great for applying stain because they allow you to evenly spread the liquid across the surface. To remove any stains left behind after painting, you will need some rags. If you plan on mixing the stain yourself make sure that you have enough containers to hold the different components.
After you have prepared your materials, clean the area you intend to stain. Clean the area with soap and warm water to get rid of dirt and grime. You can wipe down the entire furniture using a damp rag with clean water. Make sure you eliminate any loose debris, especially if you plan to stain darker wood.
The stain should be applied next. Begin at one end and spray or brush the stain on the wood. Work slowly and carefully, moving back and forth along the grain of the wood until you reach the opposite end. You must be careful not to allow the stain to drip off the wood's edges. Before moving on to the next steps, allow the stain drying completely.
Clear polyurethane is used to protect the painted surfaces. Apply three coats with polyurethane. Allow the third coat to dry overnight before sanding the final coat.